
If you’re reading this guide, it means you have an Agency account meant to manage multiple clients. If you are a client of an agency or a standalone business, please proceed to Step 2 – Adding a Website.
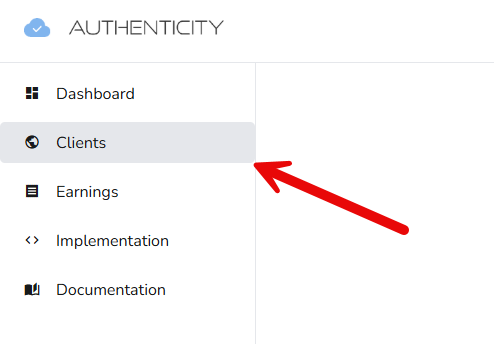
For agencies, Authenticity offers multiple ways to add, onboard, and bill your clients. To begin, navigate to the “Clients” page by clicking “Clients” on the sidebar.
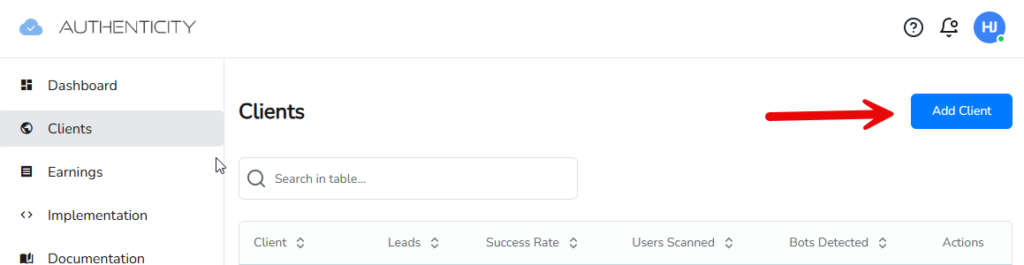
Once on the Clients page, you will see an unpopulated table where your clients will be listed. To add a client, simply press “Add Client” on the top right corner of the page.
This will bring you to a new page, where you will select how you would like to add your client, via an email invite to the client themselves, or manually on your own. For agencies that intend on having clients pay for their own accounts, you can select either option. Sending the onboarding email will walk your client through the onboarding process in Step 1, where they will add their own payment information. Alternatively if you have your clients payment information, you can also add it using the “manual” setup method.
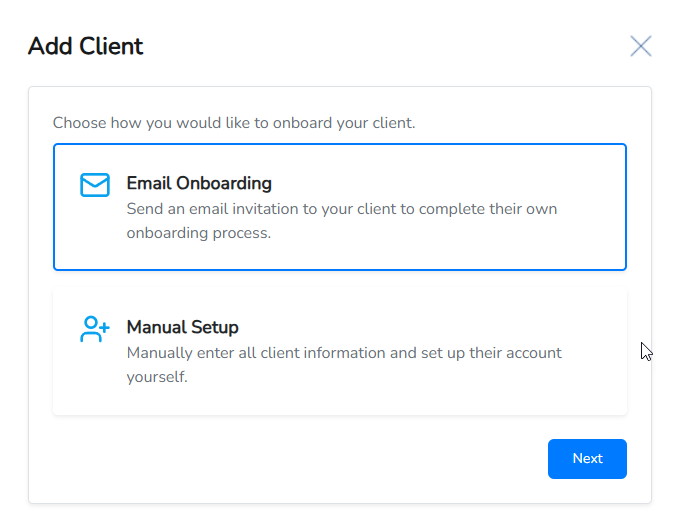
For agencies that intend on handling client billing “in-house,” select the “Manual Setup” option. This option will give agencies the ability to use the “Bill My Agency” feature, where all client charges will be billed to your agency payment method.
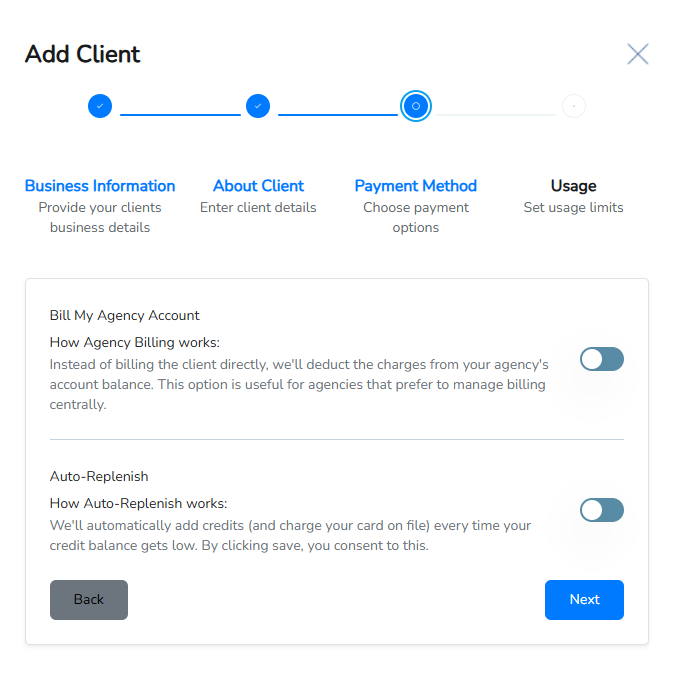
Once you’ve selected a method for adding a client, you (or your client) will be prompted to complete a brief onboarding process similar to the information requested when creating your account in Step 1.
After the requested information has been added to our system, you will be asked which features you would like enabled for your clients, as well as desired billing rates and limits for API usage.
For information on optimizing billing rates to ensure adequate credits for each client, we include a pricing calculator. We encourage agencies to speak to us during your onboarding call prior to using this calculator to ensure you understand how to measure expected demand.
