For Business or Client Accounts
After signing up for a new business account with Authenticity, the first thing to do to begin using our service is to add your domain as an Authorized Website. For customers with agency accounts, before adding a website, please see our guide on adding a new client first.
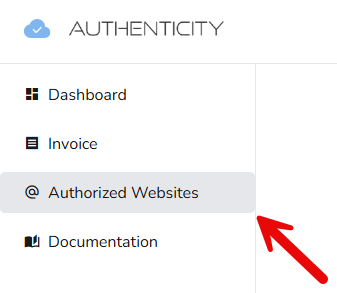
Adding an authorized website is very easy, simply navigate to the “Authorized Websites” page on the sidebar. Every website listed as an “Authorized Website” receives an individual API key that can only be accessed from your domain. It is required that you add any domain that you wish to use with our services as an authorized website.
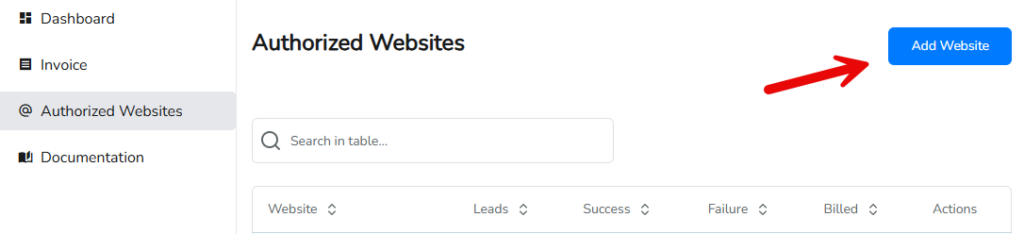
Once on the “Authorized Websites” page, to add your domain, press “Add Website” and enter your domain in the pop-up box. Once added, you will see your website in the table of Authorized Websites.
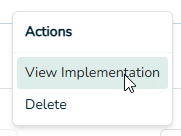
From here, you can click on your domain to guide you to the Implementation page where you can configure Authenticity for your individual forms. Alternatively, clicking the three “action” dots at the end of the table will allow you to also view the implementation page, or remove a website.
Now you are ready to proceed to Implementation and Step 3.
For Agencies
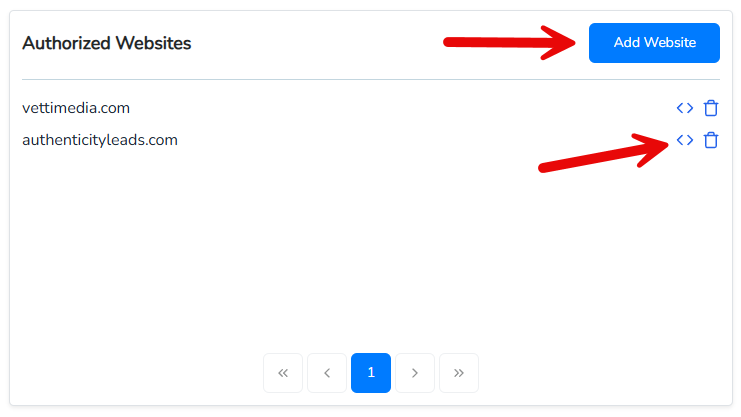
The process for adding a website for agencies is slightly different than for Client or Business accounts. Once an agency adds a new client (Step 2a), they will be taken to the Client Dashboard, where they will see the “Authorized Websites” box in the bottom left corner. To add a new website, click the “Add Website” button and type the domain of the site being added in the pop-up box. Once added, you can access the implementation page by clicking the “code” icon ( < > ) in the list of websites. Clicking the “trash” icon will remove a website.